Creating a Bot Account
To work with the library and the Discord API in general, we must first create a Discord Bot account.
Creating a Bot account is a pretty straightforward process.
Make sure you’re logged on to the Discord website.
Navigate to the Applications page.
Click on the “New Application” button.
Give the application a name and click “Create”.

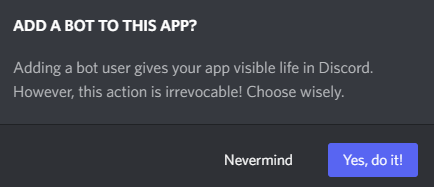
Create a Bot User account by navigating to the “Bot” tab and clicking “Add Bot”.
Click “Yes, do it!” to continue.
Make sure that Public Bot is ticked if you want other users to invite your bot.
You should also make sure that Require OAuth2 Code Grant is unchecked unless you are developing a service that needs it. If you’re unsure, then leave it unchecked.
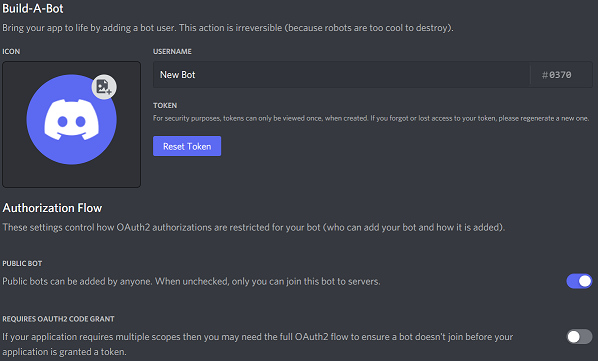
Get a generated token using the “Reset Token” button. You will have to confirm and enter a 2FA Code. 2FA is a requirement for making Bot Accounts.
This is not the Client Secret from the General Information page.
Warning
It should be worth noting that your bot’s token is essentially your bot’s password. You should never share this with anyone else. In doing so, someone can log in to your bot and do malicious things, such as leaving servers, banning all members inside a server, or mentioning everyone maliciously.
The possibilities are endless, so do not share this token.
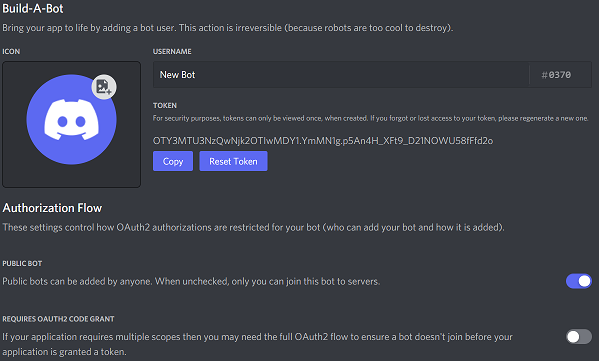
If you have accidentally leaked your token, click the “Reset Token” button as soon as possible. This revokes your old token and re-generates a new one. Now you need to use the new token to log in.
After that, click the “Copy” button to copy your token.
And that’s it. You now have a bot account and you can log in with that token.
Inviting Your Bot
So you’ve made a Bot User but it’s not actually in any server.
If you want to invite your bot, you must create an invite URL for it.
Make sure you’re logged in to the Discord website.
Navigate to the Application page
Click on your bot’s page.
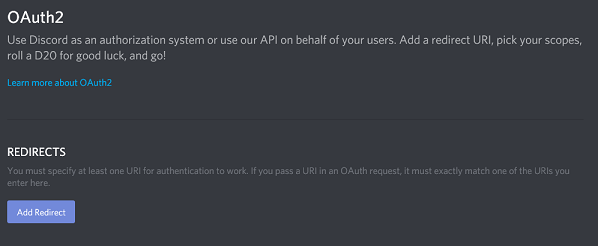
Go to the “OAuth2” tab.
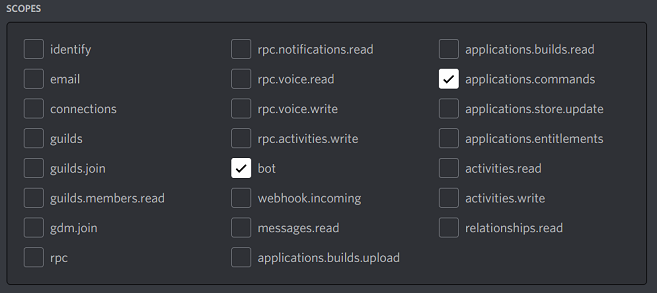
Tick the “bot” checkbox under “scopes”. If you make use of Application Commands (Slash, Message and User Commands), also tick the “applications.commands” scope.
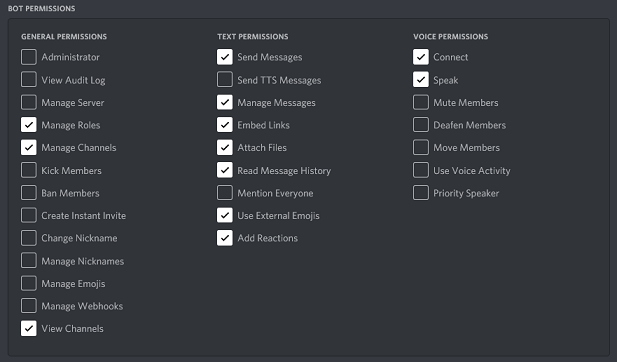
Tick the permissions that your bot requires to function under “Bot Permissions”.
Please be aware of the consequences of requiring your bot to have the “Administrator” permission.
Bot owners must have 2FA enabled for certain actions and permissions when added in servers that have Server-Wide 2FA enabled. Check the 2FA support page for more information.
Now the resulting URL can be used to add your bot to a server. Copy and paste the URL into your browser, choose a server to invite the bot to, and click “Authorize”.
Note
The person adding the bot needs the “Manage Server” permission to do so.
If you want to generate this URL dynamically at run-time inside your bot and using the
nextcord.Permissions interface, you can use nextcord.utils.oauth_url().